What is Raylib? #
Raylib is a C library that aims to make video games enjoyable to build. It offers only very low-level features, like creating a window, writing text, or displaying an image.
The goal is to create games only by coding, with no GUI to help you or anything else, enjoying coding like back in the old days.
As I said, Raylib has been developed in C, but there are a lot of bindings for other languages, like Python, Golang, Rust, and so on. You can use the language of your choice to build your dream game.
In this post, we will look at how to create a window, write text, and move things around in this window using Python. So cool, I agree!
Installation #
You can find the binaries directly on the GitHub releases page of the project.
If you use macOS or Linux, you can install it using brew. To do so, here is the command:
brew install raylib
Lovely! We finished installing
Raylib. Let’s
install Python now.
I recommend going to the official
Python website if
you are using Windows. Check the download section and install it.
For macOS/Linux users, use the following command:
brew install python
Once Python is installed, let’s install the Python library to be able to use Raylib. To do so, we will use pip. In your favorite terminal, run the following command:
pip3 install raylib
We finished installing everything. The tedious part is over; now, let’s get a place for the fun!
This tutorial uses versions 4.2 of Raylib and 3.11 of Python.
Creating the window #
The fun and the magical part starts now. First of all, you need to create a Python file.
Usually, the main one is called main.py.
Here is a simple example of how to create a window:
    import pyray as pr

pr.init_window(1280, 720, "Hello")

while not pr.window_should_close():
  pr.begin_drawing()

  # Put your code here :)

  pr.end_drawing()

pr.close_window()
If you run this, you will have a simple window with a black background.
Here is an example of how to run the file:
python main.py
Congratulations 🎉 You created your first window using Raylib! OK OK very basic, but still, it’s a huge step!
Let me detail you what we did:
-
When importing,
pyrayis the library’s name, and as it is a “long” name, we shorten it topr, so it will be simpler to use later. -
init_windowtook three arguments: a width, a height, and a name. The width and height will be the size you want to give your game.1280x720is a good default, but you can adjust it to fit your needs. -
You may be wondering why we use a while loop. Every application works this way to stay
“awake,” not only video games but also computer applications.
Here we are saying: loop over and over until the window needs to be closed. -
begin_drawingandend_drawingare functions that tell Raylib when the developer puts code that display something in the window, like texts or images. - Finally,
close_windowis a function to stop the game safely.
Writing text in the window #
To write text in the window, use the function draw_text. Here is how to use
it:
    import pyray as pr

pr.init_window(1280, 720, "Hello")

while not pr.window_should_close():
  pr.begin_drawing()

  pr.draw_text("Hello Dev Journey", 300, 200, 30, pr.WHITE)

  pr.end_drawing()

pr.close_window()
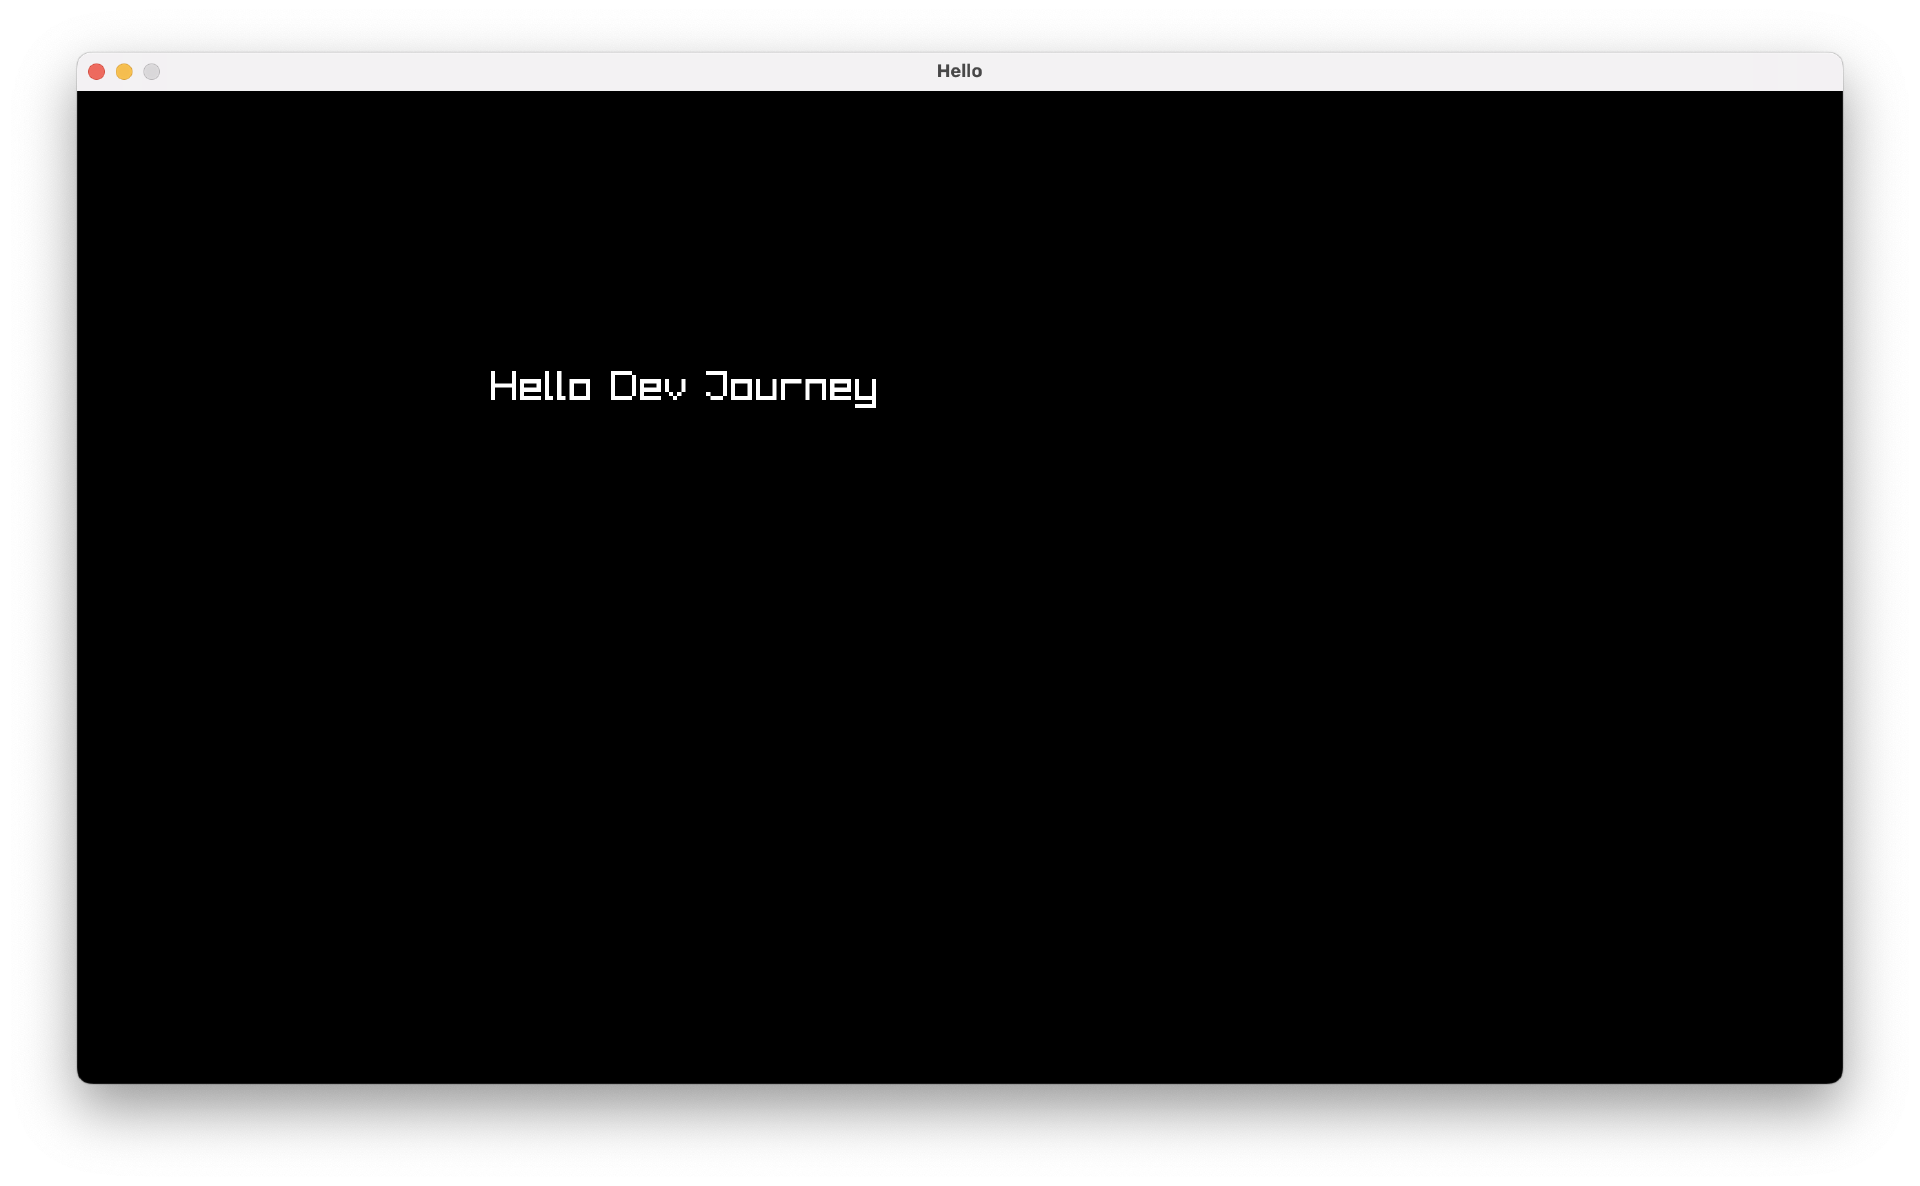
Like before, run the file, and you will have this:
Pretty cool, eh? 😎
Move the text around the window #
Let’s dynamize this by moving the text using the keyboard arrow keys.
We must verify if the desired keys are pressed in the main loop.
Raylib has a
function for this: is_key_down.
Before that, we need to create two variables, one for the x-axis and one for the y-axis. They must be instantiated before the main loop; if not, they will be re-init every time.
    import pyray as pr

x = 300
y = 200

pr.init_window(1280, 720, "Hello")

while not pr.window_should_close():
  pr.begin_drawing()

  pr.draw_text("Hello Dev Journey", x, y, 30, pr.WHITE)

  pr.end_drawing()

pr.close_window()
As you can see, we use the variables where we previously declared the x and y text
position in the draw_text function.
The goal is to update the x and y variables when we press the arrow keys. When pressing
up, the text will go up, which means that the y variable needs
to be decremented; when pressing down, the text will go down; as you
guessed, y needs to be incremented.
The same happens for left and right. By pressing left, x needs
to be decremented; by pressing right, x needs to be
incremented.
Here is the implementation of this:
    import pyray as pr

x = 300
y = 200

pr.init_window(1280, 720, "Hello")

while not pr.window_should_close():
  if pr.is_key_down(pr.KEY_UP):
    y -= 5
  elif pr.is_key_down(pr.KEY_DOWN):
    y += 5

  if pr.is_key_down(pr.KEY_LEFT):
    x -= 5
  elif pr.is_key_down(pr.KEY_RIGHT):
    x += 5

  pr.begin_drawing()

  pr.draw_text("Hello Dev Journey", x, y, 30, pr.WHITE)

  pr.end_drawing()

pr.close_window()
Run the file and try to press the arrow keys. It works so well… or not…
You may notice two things: the text moves too fast, and the previous text’s position is
still printed.
Don’t worry; I did it on purposes to show you all the steps 😉
Fix the background issue #
It is familiar to every game library or game engine; the background needs to be cleaned before drawing again in every frame.
To do so,
Raylib has the
function clear_background. This means if called in the main loop, it will
clear the background; in this way, you can draw new things on it without seeing the
previous ones.
Add the following line right after begin_draw:
pr.clear_background(pr.BLACK)
Now, if you rerun it and move the text, only the text is displayed while moving! Lovely!
Prevent the text from moving so fast #
To understand why this happens, you need to know that the main loop can be called X
times every second.
While pressing an arrow key, you move the text to 120 pixels every second or more.
In Raylib, you can
limit the maximum FPS. After init_window, enter the following line:
pr.set_target_fps(60)
Try again, and now everything works as expected! Congratulations! 🎉
Here is what you get:
The full script #
    # Import the Python Raylib library and define the namespace as "pr."
import pyray as pr

# Create a window with a width of 1280 and a height of 720.
pr.init_window(1280, 720, "Hello")

# Limit the game to run at a maximum of 60 fps.
pr.set_target_fps(60)

# Text axis position variables.
x = 300
y = 200

# Here is the main loop of the game.
while not pr.window_should_close():
  # Check if the user pressed the key up or down.
  if pr.is_key_down(pr.KEY_UP):
    y -= 5
  elif pr.is_key_down(pr.KEY_DOWN):
    y += 5

  # Check if the user pressed the key left or right.
  if pr.is_key_down(pr.KEY_LEFT):
    x -= 5
  elif pr.is_key_down(pr.KEY_RIGHT):
    x += 5

  # Tell Raylib you start to draw.
  pr.begin_drawing()

  # This is important; it erases everything on the window with the given color.
  # If you don't do this, you will see what happens in the previous frames.
  pr.clear_background(pr.WHITE)

  # Draw to the screen the text "Hello Dev Journey"
  # at the position x: 300 and y: 200 with a font size
  # of 30px and using the color black.
  pr.draw_text("Hello Dev Journey", x, y, 30, pr.BLACK)

  # Tell Raylib you stop to draw.
  pr.end_drawing()

# Safely close the window and the application.
pr.close_window()
Conclusion #
You learned the basics of Raylib, how to create a window, draw text and move it.
You will want to dig more into this excellent library!
Thank you for reading me. If you enjoyed this article and consider offering me a ☕, I will be very grateful, and it will help me write new articles.


